Connecting an Ethernet cable is quite simple; however, if it's not connected correctly, you can experience internet or network connectivity issues. Below, you'll find step-by-step instructions on how to connect an Ethernet cable , when to use the RJ45 connector, and practical tips .
🔹 1. Ready-made cable or will you make your own?
✅ If you are using a ready-made Ethernet cable
-
The ends are factory pressed (RJ45 connector attached).
-
Just plug it between two devices:
-
Modem → Computer
-
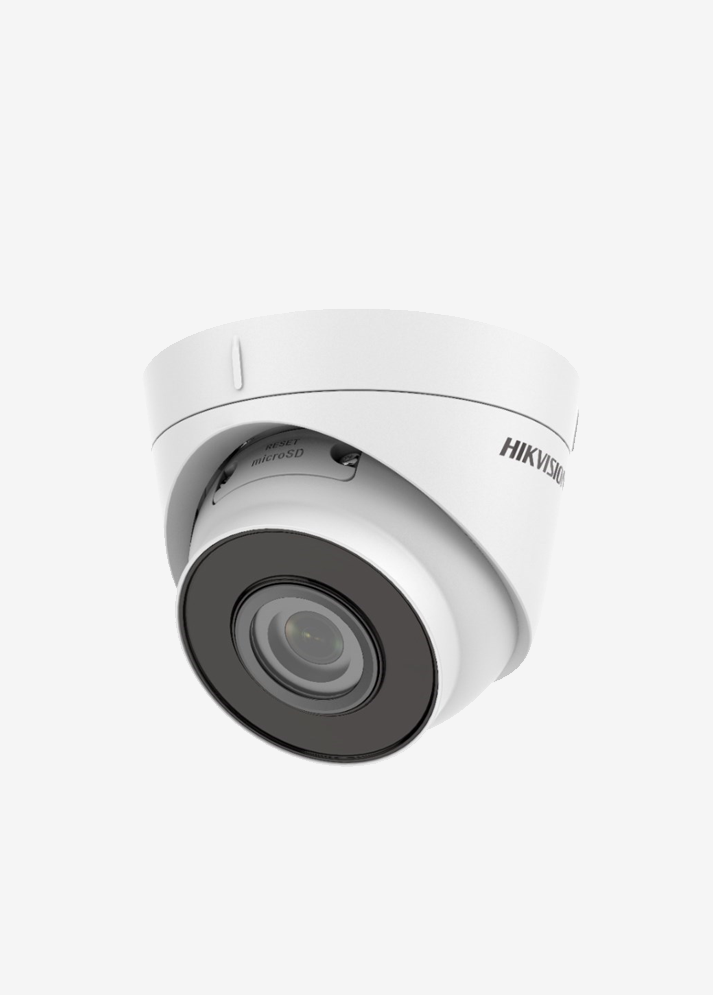
Switch → IP Camera
-
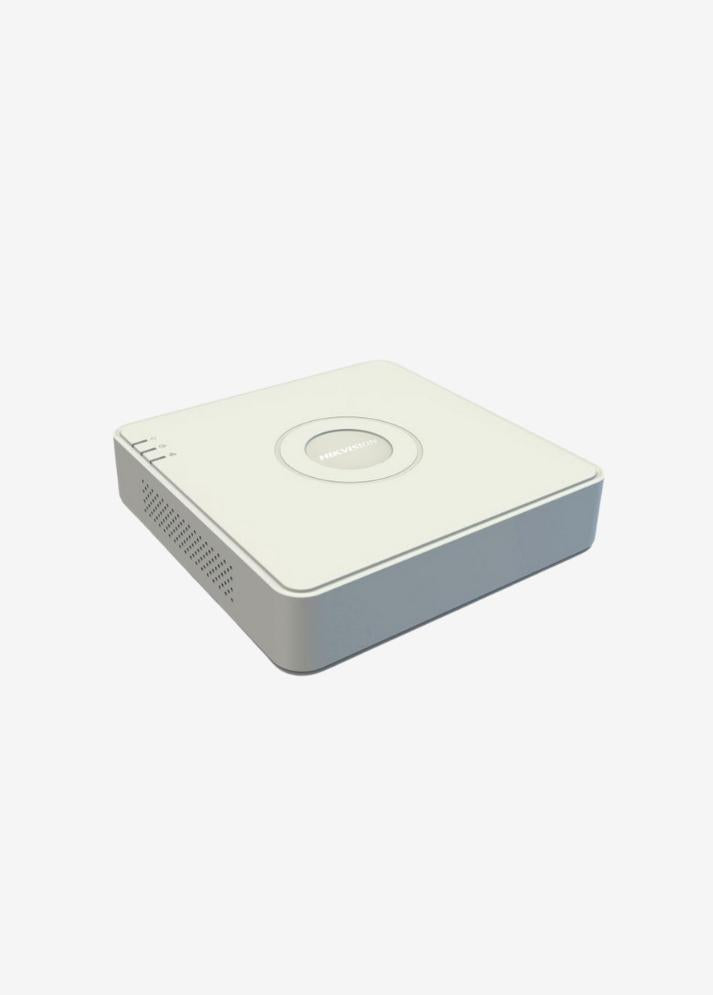
NVR → PoE Switch
-
Router → Router (uplink connection)
-
📌 What you need to do:
Insert the RJ45 connectors into the Ethernet port (usually labeled “LAN” or “Ethernet”) on both devices.
The cable should fit fully into the port with a "click" sound.
🔧 If you are going to make an Ethernet cable yourself (RJ45 connector)
This method is generally preferred by electricians, technicians or network installers.
If you want to insert the cable ends yourself, follow these steps:
🔹 2. Required Materials
| Material | Explanation |
|---|---|
| UTP/FTP Ethernet Cable (e.g. Cat6) | Cable used for data transfer |
| RJ45 Connector | Transparent connector attached to the end of the cable |
| Cable Stripper or Utility Knife | To strip the outer plastic |
| Cable Crimping Tool | To press the RJ45 connector |
| RJ45 Tester (Optional) | To test the correct connection |
🔹 3. Cable Color Scheme (T568B Standard)
The 8 wires in an Ethernet cable must be arranged in the correct order.
The most common standard: T568B
- Orange – White
2. Orange
3. Green – White
4. Blue
5. Blue – White
6. Green
7. Brown – White
8. Brown
🧠 Note:
If you make both ends in the same arrangement, it becomes a straight cable (for modem, switch, PC connection).
If one is T568A and the other is T568B, it becomes a crossover cable (used in special cases between the same type of devices).
🔹 4. Tip Installation Steps
-
Peel off approximately 2–3 cm of the cable (outer plastic sheath).
-
Arrange the inner 4 pairs (8 wires) of wires in color order .
-
Straighten the strands and align them evenly.
-
Place the wires into the RJ45 connector in color order .
-
Press firmly with forceps.
-
Do the same for the other end.
-
(Optional) Check the connection with RJ45 tester.
🔹 5. Test the Connection
-
Connect your computer or NVR.
-
The green/orange LED lights next to the network port should be illuminated.
-
Green light: connection established
-
Orange light: data transfer is occurring
-
If the light is not on:
-
The order of the wires may be mixed up.
-
The RJ45 connector may not be fully seated.
-
The cable may be broken or short-circuited.
🔹 6. Recommendations for Professional Use
-
If you are going to use it outdoors, use UV-resistant, outdoor Cat6 cable.
-
For PoE devices (IP camera, AP, NVR), choose at least Cat6 copper (not CCA, 100% copper) cable.
-
For long distances (over 100 m), use a PoE Extender or Switch .