If you want to secure your home, choosing the right camera system and installing it properly is crucial. Below, I've compiled a guide that even beginners can use:
1. Determine Your Needs: How Much, Where?
🎯 Goals:
-
Which areas do you want to monitor? (Garden, entrance gate, parking lot, indoor)
-
Will you be using it outdoors or indoors?
-
Do you need night vision, motion detection, remote access?
📍 Sample Points:
-
Main entrance gate
-
Backyard / terrace
-
In front of the garage / parking lot
-
Living room or children's room
2. Choose the Right Camera System
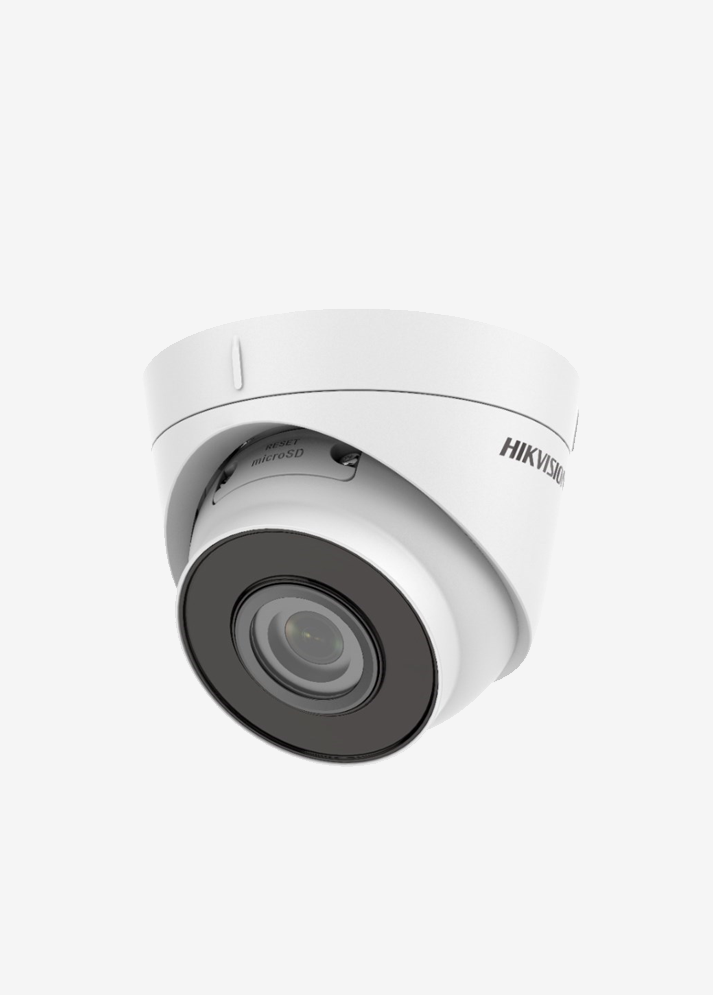
🔍 Camera Types:
| Camera Type | Where to Use | Features |
|---|---|---|
| IP Camera | Indoor and outdoor | High resolution, remote monitoring |
| Analog Camera (CCTV) | Economic systems | Works with DVR |
| Wireless Camera | Temporary solutions | Easy installation, works with Wi-Fi |
| PTZ Camera | Large areas | Rotating head, zoom feature |
📌 Recommendation:
For home users , wireless IP cameras or NVR-supported IP systems are generally recommended.
3. Obtain Necessary Materials
-
Security cameras (as many as the number of units)
-
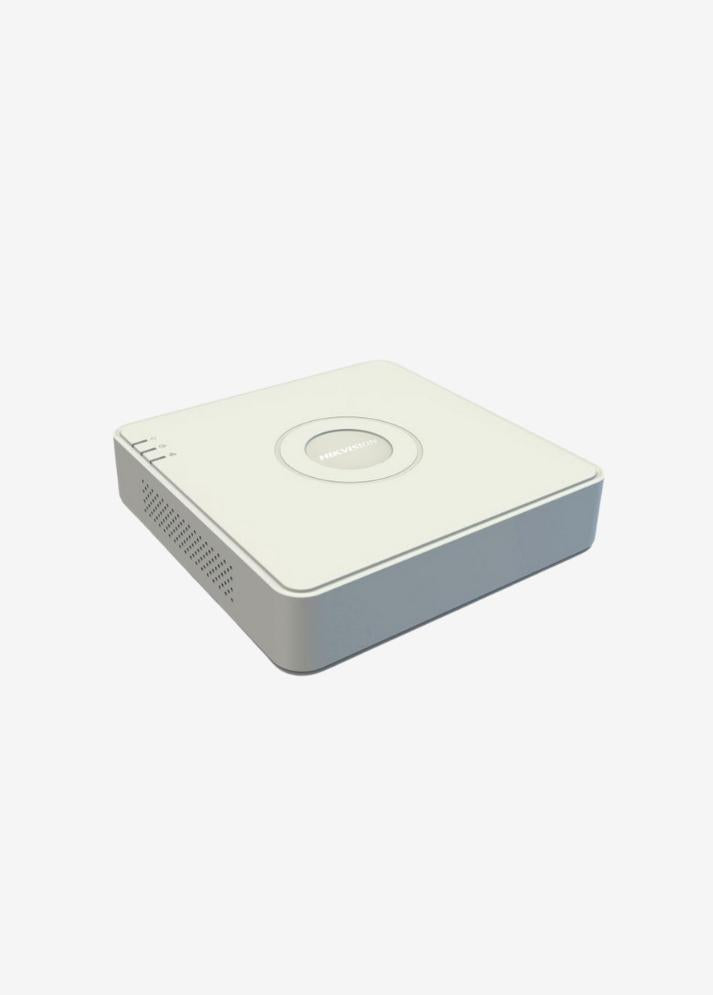
Recording device (NVR or DVR)
-
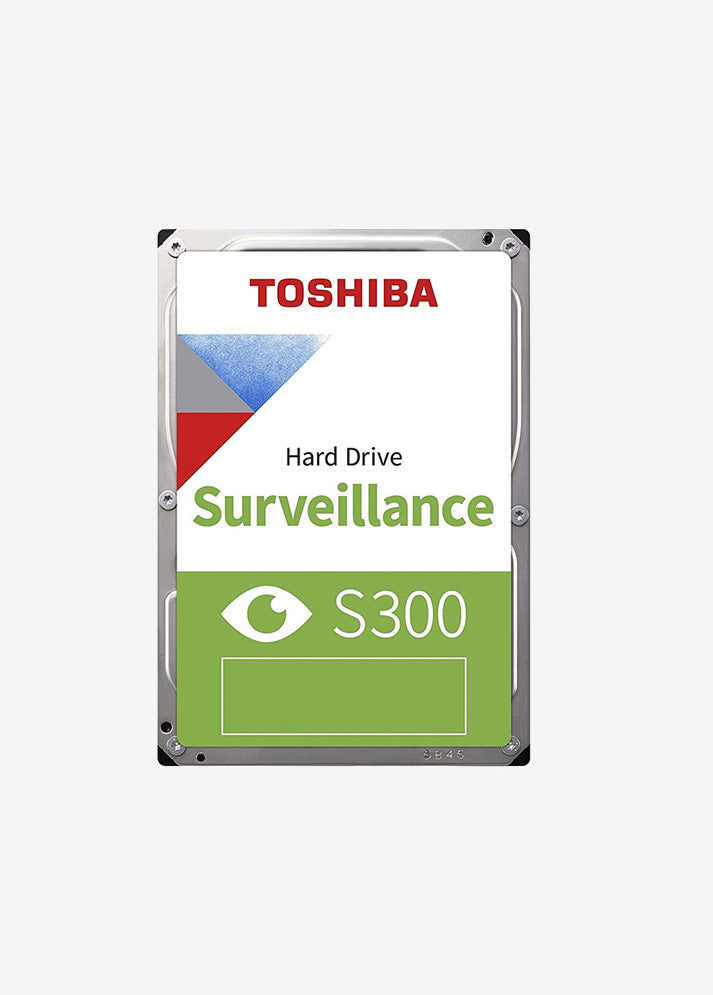
Hard disk (min. 1 TB recommended)
-
Cable (Ethernet / Coaxial)
-
Adapter or PoE switch
-
Dowels, screws, drills for mounting
-
Mobile app (for remote access)
4. Place Cameras in Strategic Locations
🔧 Things to Consider:
-
Cameras should look from above and with a wide angle
-
It should be placed so that it receives light from behind, not directly into the sunlight or against the light.
-
Pay attention to night vision distance (IR LED distance)
-
Outdoor cameras must be IP66/IP67 (water resistant)
5. Make Wiring and Power Connection
📡 In Wired Systems:
-
IP camera: Connected to NVR via Cat6 cable
-
Analog camera: Need coaxial cable + BNC + power cable
🔌 Power Options:
-
You can power each camera with an adapter
-
If PoE is supported, both energy and data are transmitted with a single cable.
6. Install and Configure Recording Device (NVR/DVR)
-
Insert the hard disk
-
Connect all cameras to ports
-
Transfer image to monitor via HDMI or VGA cable
-
Set date, time, recording options from the system interface
-
You can define motion detection and alarms
7. Mobile Access and Remote Monitoring Setting
-
Scan the recorder's QR code with your phone
-
Download the manufacturer's mobile app (example: Hik-Connect, Xmeye, iVMS, Ezviz)
-
Enable remote instant monitoring and playback (recording playback) via Wi-Fi
8. Adjust and Test Recording Settings
-
Will it be continuous recording or motion recording?
-
If you have an SD card, make a backup
-
Test retrospective records
-
Activate the notification function when motion is detected
9. Hide/Secure Cameras
-
Protect the cable against external interference (spiral, tube, outer sheath)
-
Mount the camera in hard-to-reach spots
-
Visibility provides security, but points where it can be damaged are risky.
10. Periodic Maintenance and Software Updates
-
Clean camera lenses every 2–3 months
-
Perform software updates
-
Check the hard disk according to its capacity
-
Test weekly to see if remote monitoring access is working
🎯 RESULT:
A well-structured camera system to install in your home:
-
Deters theft and trespassing
-
It records images 24/7.
-
Provides remote monitoring from mobile devices
-
Provides maximum protection for family safety and property security